How to Add and Use the Chrome DevTools MCP
This guide covers adding a basic external Model Context Protocol (MCP) to Claude Code. We will add the Chrome DevTools MCP to enable Claude to check site performance.
Prerequisites
Section titled “Prerequisites”- Claude Code configured on the terminal
- Node.js version
20.19or higher - Chrome Browser
Step 1: Register the MCP with Claude
Section titled “Step 1: Register the MCP with Claude”This command tells the Claude extension that a new context provider called chrome-devtools exists and is executed using an npx command.
- In your terminal, run the following command:
claude mcp add chrome-devtools npx chrome-devtools-mcp@latest- Claude will register this MCP
- You can verify the terminal installation by running this slash command in claude:
/mcpor this command in your termina:claude mcp list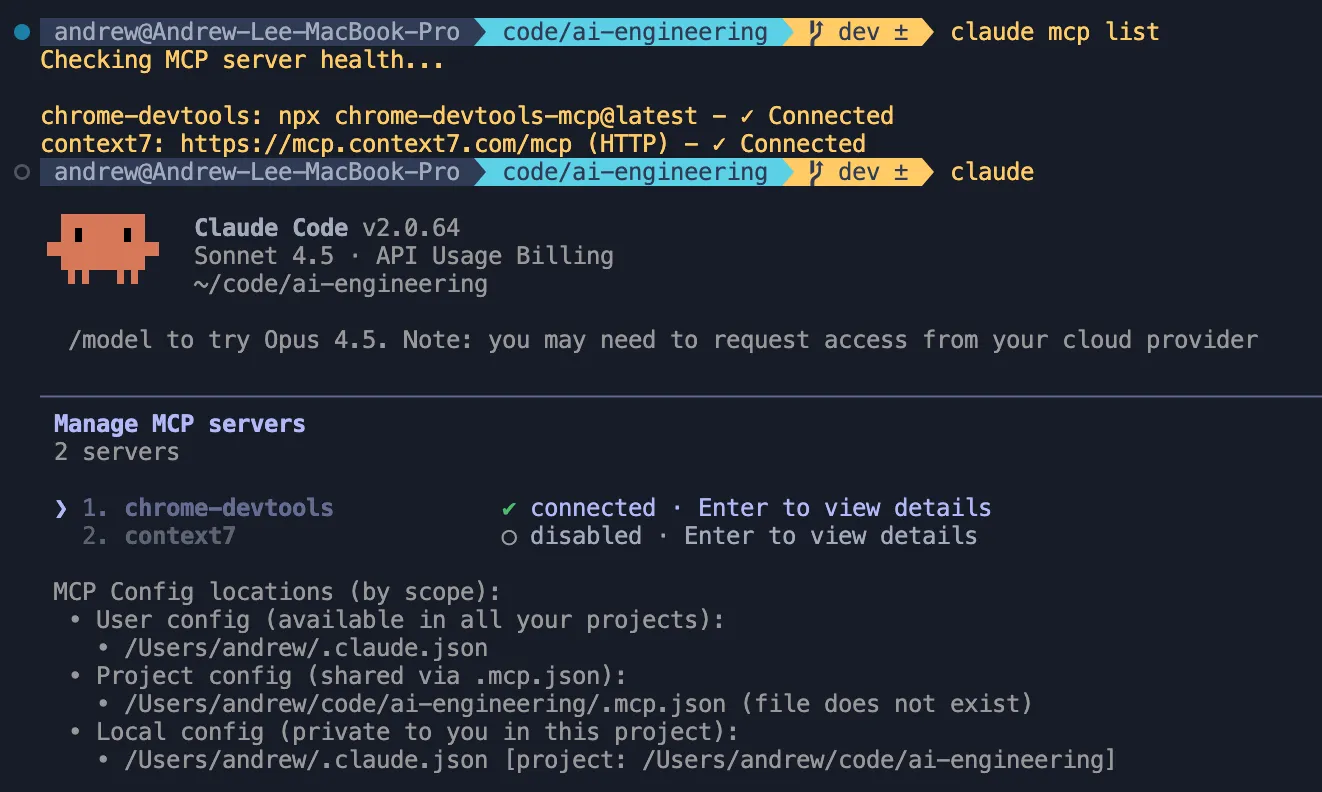
- You can verify the terminal installation by running this slash command in claude:
Step 2: Use the MCP in a Chat
Section titled “Step 2: Use the MCP in a Chat”Lets now invoke the registered MCP from the Claude chat to perform the verification task.
- Initialize Claude Code in your terminal.
- Type the following prompt
check the pagespeed performance of nfl.com-
When Claude prompts you for permission to execute, please select “yes”
-
If Successful, Claude will now run a pagespeed test on nfl.com and give you an analysis of the results.
- While MCP unifies tooling, it does not unify installation. MCPs may have specific installation instructions and different requirements from each other. Typically
npxoruv(Python package/project manager) is utilized. - MCPs can be a potential security risk vector. For any professional usage, please make sure you are using official or internally validated MCP servers.
- Some MCPS to try explore next: